
Sometime I feel like I make great progress and sometimes I feel like I take a few steps back.
Today was a good day.
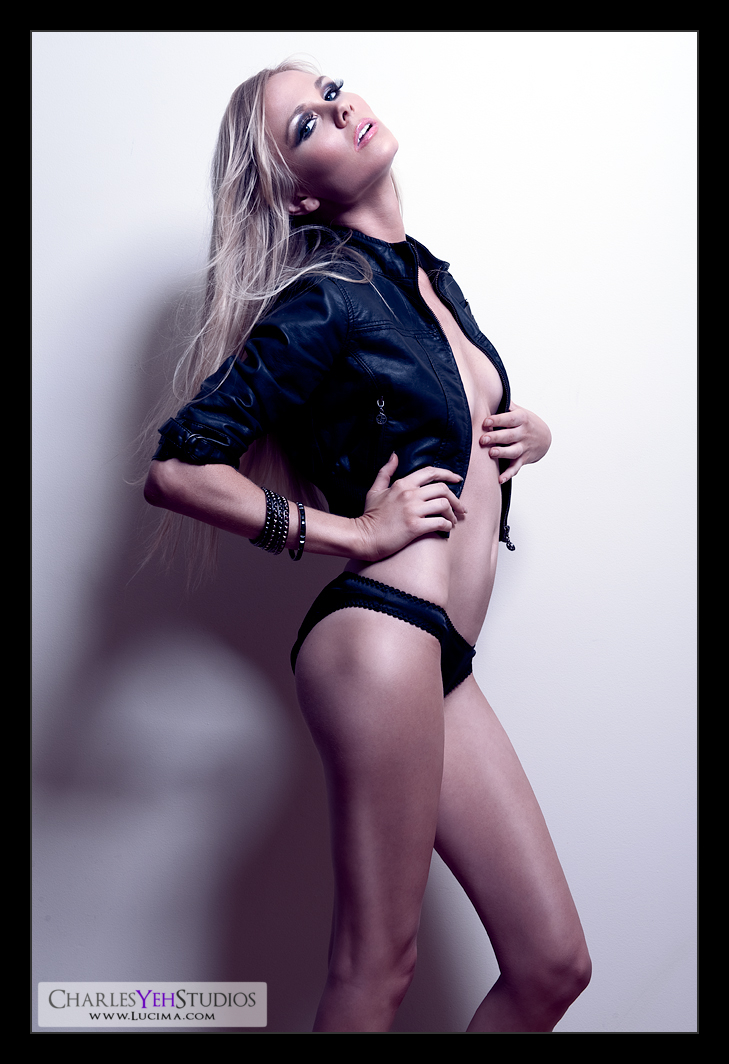
It helps when you work on an image with a bread-and-butter setup. You've all seen this before. The AB800 in the 22" beauty dish from high upper left/right. Oh, but this time I ditched the SB-800 and the RayFlash ringflash adapter as I've discovered that blondes simply don't need it. The blonde hair fills in enough light into the shadows. Combined with the white wall also providing fill, there's simply no need for the on-axis fill provided by the RayFlash with SB-800 when you shoot a blonde.
So what's special about this picture? Aside from the unbelievably long legs on Kendall? We turned on the fan to make the hair move, threw on a leather jacket and put on a few bracelets. I like the look, it's edgy. The makeup turned out wonderfully too and really pops in post-processing as well. Hell, I just might do a before and after comparison on this picture and show you what I started with...
For me, this picture was all about the retouching. It was the usual stuff. Levels, gradient maps, sharpness, etc. Nothing particularly special. The big thing was that I applied a purple-to-transparent gradient map with color blending and tuned it to 27% opacity. That's the tint that you see. And if you haven't already read the gradient map write-up, you should... :)
For added contrast I used a B&W gradient map with luminosity blending at 68% opacity. For added kick. I decided not to desaturate this image because the purple-to-transparent gradient map gave the image a certain character that would only be diluted with desturation (I didn't want the skin tones to get washed out).
Sharpness was processed the same way that I did the previous picture (Kendall: In motion). Basically just resizing and sharpening. Nothing special really, but I suppose because the original image was very crisp the resulting resized version is also very sharp with or without sharpening.
I should probably add that the recent images that I've shot and processed have been almost the full-frame of the original picture... that is I'm not cropping down much if any at all. Before I used to shoot and then crop down something like 25-75% of the original frame. I suppose my composition has gotten better at the point-of-capture, rather than waiting until post-processing to (re)compose the frame.
Camera: D3/24-70mm f/2.8G @56mm, 1/200th, f/9.0, ISO200
Strobist: AB800 in 22" beauty dish from camera upper right
Model: Kendall B.
Makeup: Kelli Zehnder
Wardrobe: Kendall/Michelle Green
great post Charles! cost me an hour retouching a model in lingerie -- but, it was worth it...
ReplyDeleteturns out there is a big diff between a 'Gradient Map', and using the 'Gradient Tool'. with a Gradient Map, you don't get to choose whether you want the gradient angled, custom, or even reflected -- you get what you get.
the gradient you see in your shot, is more from the beauty dish lighting down from upper right to bottom left! guess it's the diff between a gradient map, and a gradient!
Hey Greg,
ReplyDeleteYeah, I rarely use the gradient tool unless I really botch the exposure at the point of capture. For example if the face is darker than the body, I'll use the gradient tool to bring the exposure back up gently and over a distance so it's not obvious that the exposure has been boosted in the face.
What you can do is combine a gradient map with the gradient tool.
How you say?
You can apply the gradient map first, then apply a mask and use the gradient tool to attenuate the gradient map in the angle or direction that you want.
For me however, I typically use the gradient map in the full effect across the entire image.
:)