
If you've taken a workshop or a webinar with me in the past, you'll know that I strongly advocate a few "go-to" setups that you can nail every single time.
You'll also know that I recommend you demonstrate this proficiency as the first "set" throughout the test shoot. Yes, we're talking about test shoots. Obviously if you're shooting a campaign, web, beauty, or something more specific then the following doesn't really apply.
Why use a "go-to" setup?
1. Demonstrate proficiency. It shows you know what you're doing and really the point is...
2. Gain trust and confidence from the model/team. Success begets success. The sooner you gain the trust and confidence from your team, the sooner you have their fullest potential at your disposal. Basically that they're willing to give you their 110%. If they don't trust that you have the requisite skills, they're less likely to give you a full effort throughout the shoot.
3. Routine. I eat Cookie Crisps and milk every morning. Breakfast of champions. It's how I start my day everyday. I don't have to think about it. It allows me to get into my rhythm and think about the things that require higher order thought processes. Just like shooting free throws, you need to have a setup you can find your rhythm to build momentum.
There are lots of other reasons to have go-to setups. You can create your own list. But really the purpose of this article is to talk about a few that I use.
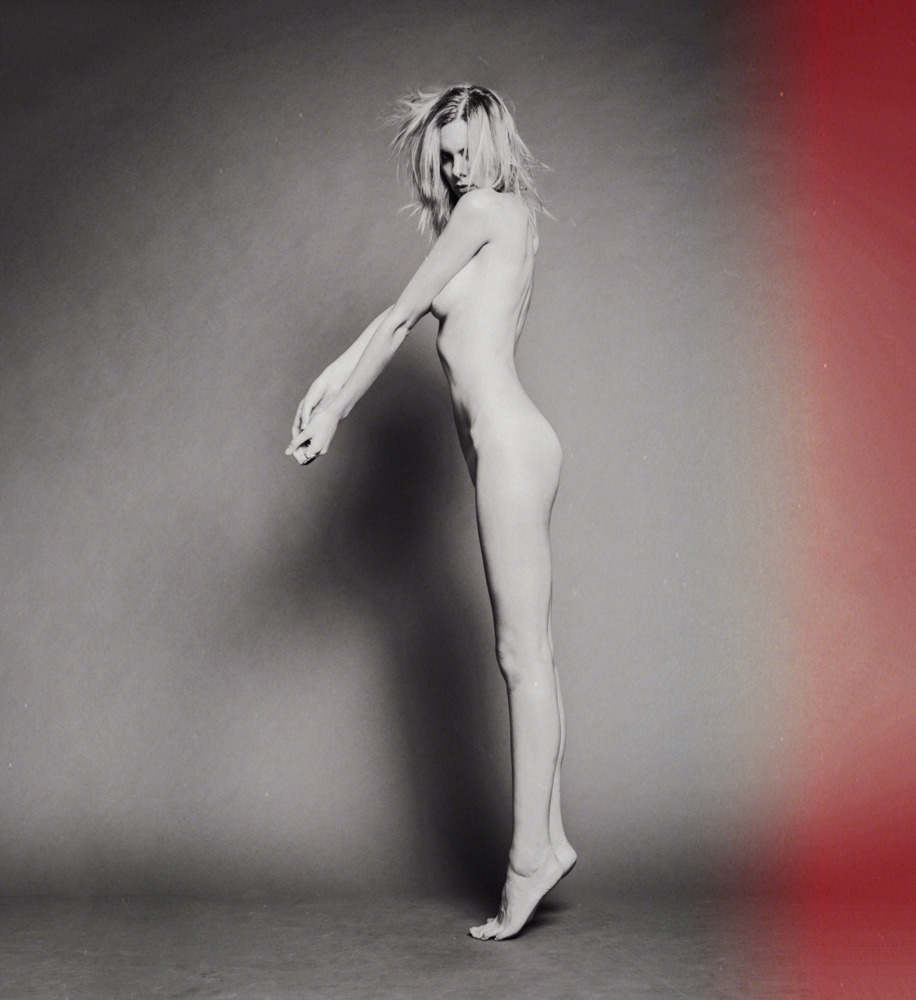
One of my earliest go-to setups was this one:

White paper. Medium gridded octabox/softbox. Feathered. Model stands farther away from the back so I can tune the white down to a darker shade of grey. One light with enough spread to light her top to bottom but not enough to spill all over the place.
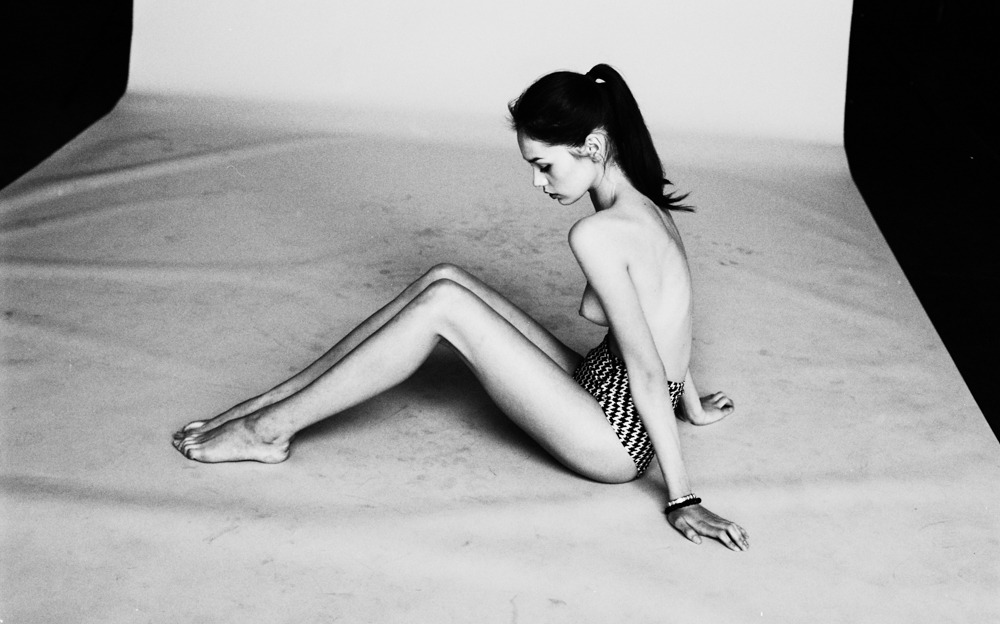
This setup eventually evolved to this:
A single large (I used a 7') gridded softbox from the right to left. Still feathered. Grey background so the background distance is less temperamental. Everything about this setup is easier compared to the previous setup. Before the model would stand 5-6 feet in front of the white paper and sometimes she would be too "tall" for the backdrop (not enough to cover her head). But moving her back towards the paper would compromise the shade of grey I was trying to generate from the white paper, since I was just using 1 light. 2 issues resolved with just using grey instead of white. The look and feel is admittedly different from grey though. But "easy" wins in a go-to setup. The single larger light (still gridded) also allowed me to light her more evenly without worrying about hot-spots and light fall-off. The only sacrifice becomes spill which is less of an issue with grey instead of white paper.
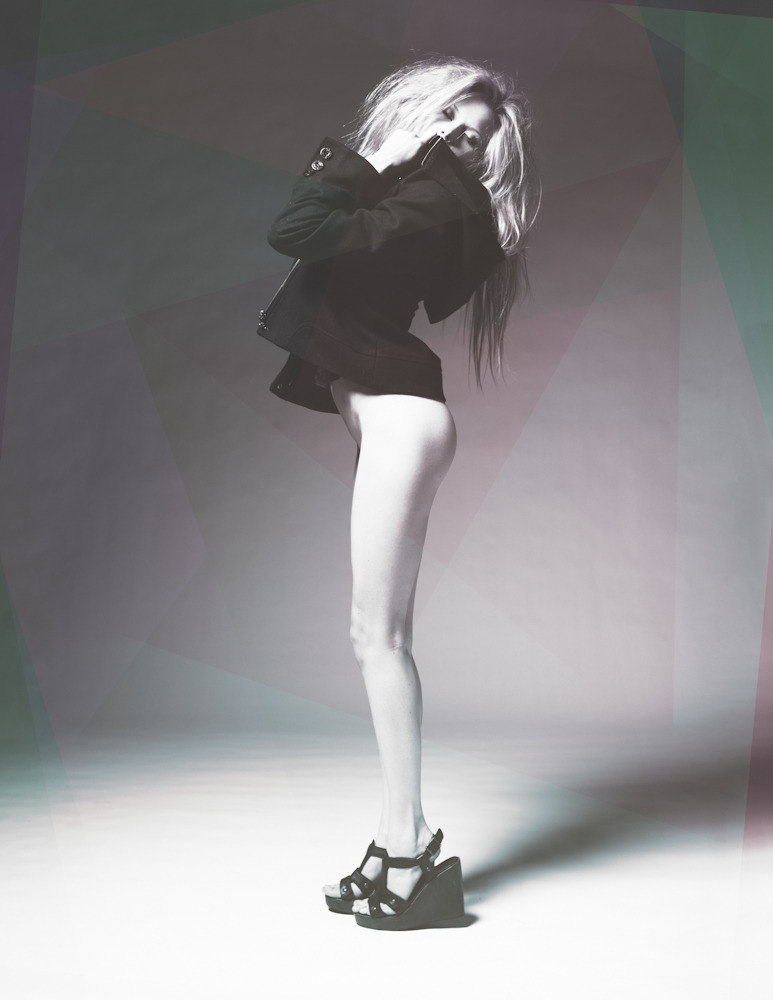
And yes, I just realized that the first example uses 2 lights. Same thing really. Except I stopped using 2 lights. The kicker adds a bit of dimensionality but isn't necessary and rather it's not suggested for a go-to setup. Remember, "easy" wins. Less moving parts means less can go wrong. Here's the same white paper setup with only 1 light:
And the evolution continued. Lights became expendable as I searched for even simpler setups. Ultimately I leveraged the best simple lighting setup in the world. I put the paper in front of the 18' roll-up warehouse gate and just used ambient light as the light source:

No more left-right fall-off to worry about. No more hot spots. No more exposure variations with distance (not entirely true but close). No more focus trouble in dim light. No more depth of field concerns. No more grain/high ISO concerns. By not using strobes, I was able to shoot much more freely.
And think freely too. Without the normal constraints of what you're "supposed" to do. Like frame the model entirely on the backdrop:
Now for the disclaimers. You need to know how light works. Even ambient lighting is troublesome if you don't understand the fundamentals of lighting. Intensity. Direction. Distance. Bounce. Ambient is a can of worms if you don't recognize where the main light source is coming from. Is it the sky? The sun? The asphalt? And you say, "But concrete is on the ground, can it really be the main light source?" What about the red car in the parking lot? What lighting pattern on the face are you generating with your ambient light? "Huh? Lighting pattern? I didn't know you could generate lighting patterns with ambient light? I thought it was all diffuse."
Yeah, lighting.
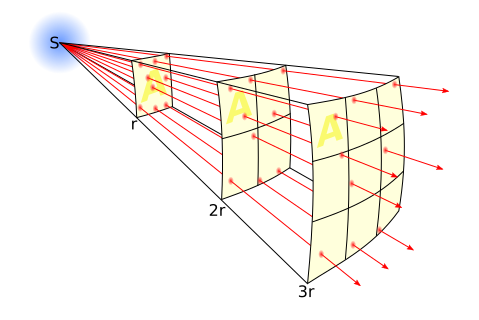
But it isn't complicated. "Go-to" is supposed to be simple. You can mix things up but the fundamentals don't change. You still need to understand what each light does whether it is ambient or artificial. Learn that first. Learn how the inverse square law works:
No comments:
Post a Comment